Table of Contents
- Why Video Is Important in Real Estate?
- Real Estate Videography Tips for Beginners
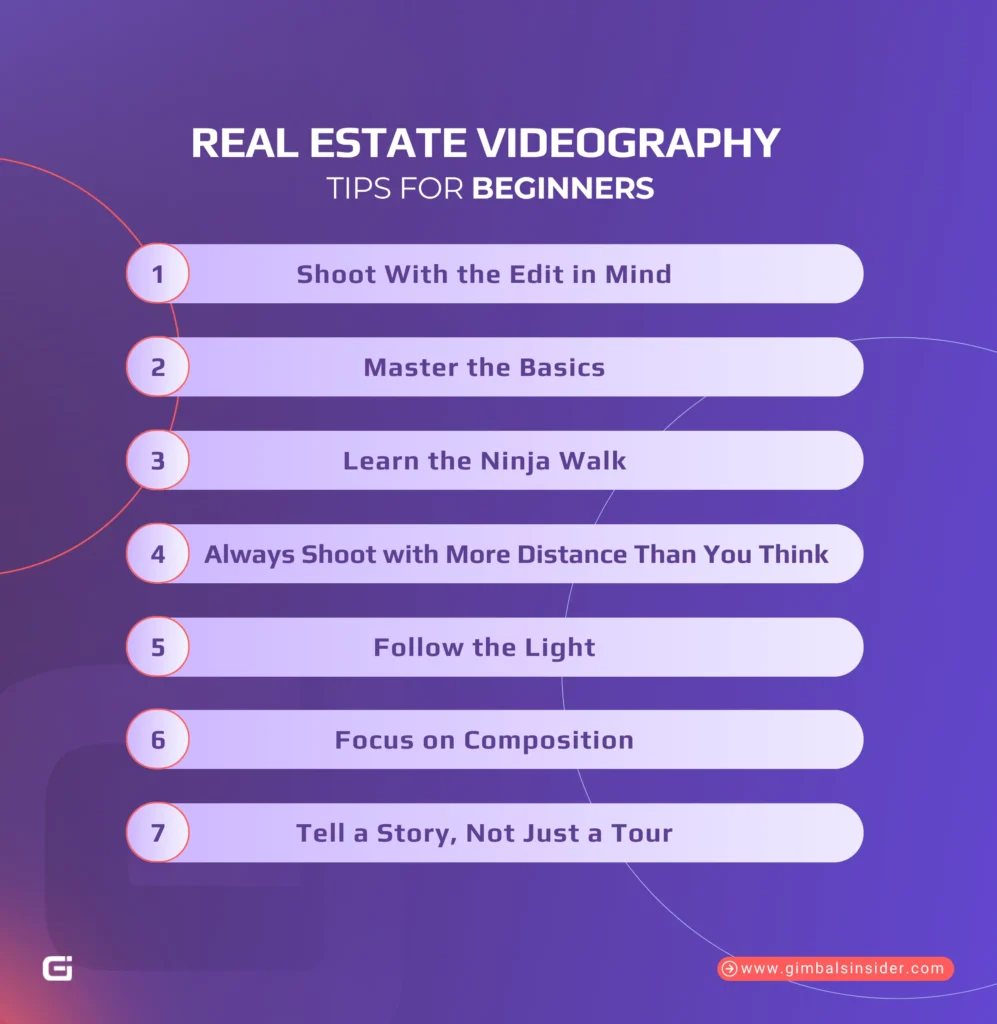
- 1. Shoot With the Edit in Mind
- 2. Master the Basics
- 3. Learn the Ninja Walk
- 4. Always Shoot with More Distance Than You Think
- 5. Follow the Light
- 6. Focus on Composition
- 7. Tell a Story, Not Just a Tour
- How to Edit and Publish Your Real Estate Videos for Maximum Reach
- Keep It Short and Engaging (Under 2 Minutes Wins)
- Add Music and Branding Without Overdoing It
- Music
- Branding
- Post Everywhere
- YouTube
- Instagram and TikTok
- Facebook and LinkedIn
- Common Real Estate Videography Mistakes to Avoid
- Final Words
- FAQs
- 1. What camera is best for real estate videography?
- 2. How do I make real estate videos look professional?
- 3. What lens should I use for real estate videos?
- 4. How long should a real estate video be?
- 5. What’s the best time of day to film a property?
You tried shooting your own real estate video, but it didn’t look the way you hoped. The angles felt off, the lighting looked flat, and it didn’t show the home how you saw it. That’s normal. Most agents run into the same problem.
That said, a study by Inman found that 85% of buyers and sellers prefer working with agents who use video, yet few know how to use it well. That’s why I’ll share simple real estate videography tips to help you fix those issues and make your next video feel real and professional.
Why Video Is Important in Real Estate?
People don’t just want to see a house. They want to imagine living in it. That’s what video does best. Before we get into real estate video tips, here’s why it matters.
- Helps People Feel the Space: A good video shows how rooms connect, how light moves, and what it feels like to walk through the place. Photos can’t do that.
- Gets More Attention Online: Real estate videos drive up to 157% more organic traffic and hold viewers’ attention longer. They also keep people watching longer, which helps your content show up higher in search results.
- Speeds up Decisions: When buyers can picture themselves in the home, they’re quicker to reach out or schedule a tour.
- Builds Trust and Credibility: Agents and videographers who use video look more professional and confident. It shows effort and care, and clients notice that.
Read Also: Best Camera Gimbal for Vlogging
Real Estate Videography Tips for Beginners
Getting into real estate videography doesn’t have to be complicated. Start small, learn what works, and focus on simple habits that make your footage look clean and intentional.
So, let’s start —
1. Shoot With the Edit in Mind
The biggest difference between a beginner and a pro happens before you hit record. New videographers often film everything, hoping to fix it later. Pros don’t. They already see the finished video in their head while shooting.
Shooting for the edit keeps your footage focused and your story clean. As you walk through a house, think about how one shot will lead into the next – the opening wide shot, a mid transition, then a detailed close-up. Each clip should have a reason to exist.
Ask yourself, “Will this shot help tell the story?” That simple question saves time later and keeps your footage consistent. When you plan your shots this way, editing feels smooth and the final video naturally fits together.
2. Master the Basics
Before worrying about fancy transitions or drone moves, get comfortable with three core shots —
- The Wide Push shot, around 15mm, shows the full layout of a room. Walk forward in a straight line to reveal the space naturally.
- The Curve Push adds motion. Move in a soft arc to show how rooms connect or how light moves through a space.
- The Detail Shot, usually between 50-85mm, is for texture and close-up moments like a stone countertop or fireplace.
Once these moves feel natural, that’s when you can start getting creative.
3. Learn the Ninja Walk
Remember, your footage is only as smooth as your steps. The Ninja Walk might make you look a little silly, but your clients will love what it does for their videos.
Bend your knees, keep your elbows in, and walk heel to toe while holding your torso steady. Lean forward a bit so your weight stays balanced. That small shift stops the side-to-side wobble no gimbal can fix.
And don’t crawl through the room. Walk a little faster than feels normal. The quicker you move, the smoother the shot.
4. Always Shoot with More Distance Than You Think
When you film, step back a little more than feels right. Most beginners start too close and end up with clips that are hard to edit.
But extra distance gives you more room to work with later. It helps when you want to speed ramp or connect shots smoothly without jarring cuts. The longer movement also makes your footage feel natural and steady instead of rushed.
More distance means more options, better pacing, and cleaner transitions.
5. Follow the Light
Good lighting can save a shot. Bad lighting can ruin it. Even with top gear, if the light isn’t right, the video won’t feel right. Here’s what helps most —
- Shoot During Golden Hour: Early morning or late afternoon light is soft and natural. It makes rooms look warm and the outside look balanced.
- Use Twilight for Mood: That short time after sunset gives a calm, cinematic feel. It’s perfect for showing outdoor lights and reflections.
- Skip Mid-day Light: The sun is too strong and creates harsh shadows that flatten everything.
- Start with Natural Light: Open curtains and let sunlight fill the space before turning on any lamps.
- Pay Attention to Change: Changing clouds, fading daylight, or soft reflections can add a natural rhythm that makes your video feel alive.
6. Focus on Composition
When you’re filming, you need to think like a movie director, not a realtor. That’s where composition is important.
- Use leading lines like kitchen counters or hallways to pull the viewer’s eyes toward the subject.
- Follow the rule of thirds to keep things balanced and easy to look at, and avoid centering everything.
- Add depth by including something close to the camera, your main subject in the middle, and a background that gives context. You can place a chair, plant, or doorway in the front of the frame to make the space feel real.
When your shots have layers, the viewer feels like they’re actually walking through the home, not just watching a video.
7. Tell a Story, Not Just a Tour
A good real estate video doesn’t just show rooms. It helps people picture life inside them. So, instead of a list of features, tell a simple story that makes the place feel real.
Here’s how you can do it —
- Start with Feeling: Try a small human moment. Imagine waking up to this view, sunlight across the living room, coffee brewing in the kitchen. Plus, use a quiet voiceover or short text on screen to set the mood.
- Make it Flow: Guide people through the space in the same way they’d walk through it. Start outside, then move through the main areas, and finish in the more private spots.
- Keep a Natural Pace: Match the rhythm of your shots and music to how the home feels. Slow for calm, quick for energy.
- End With a Moment: Hold on a simple shot, like the sun setting or lights coming on. Let your viewers imagine themselves there.
Keep it honest and calm.
Read More: 5 Best Gimbal for Sony A7iii
How to Edit and Publish Your Real Estate Videos for Maximum Reach
Editing is where your video starts to feel real. The way you cut and share your video decides how well it connects with buyers and agents. Here’s how to keep it simple and make it work.
Keep It Short and Engaging (Under 2 Minutes Wins)
People don’t have time to watch long videos. In fact, Over the past two decades, our average attention span has become much shorter. To be specific, it has declined from 12 seconds to only 8.25 seconds today.
So, two minutes is usually enough to show what matters and keep attention. In that sense, every clip should have a reason to be there.
- Show something new or move the story forward.
- Start strong since your first few seconds decide if people stay or scroll away.
- Remove what you don’t need. Slow pans or long transitions can kill the flow.
- Keep the pace steady but natural.
- Use music to set the mood, not to fill silence.
- Show the layout with a few wide shots, then move to closer details that make the place stand out.
- Keep the visuals clean, like adding simple text on the screen to highlight key info such as price, area, or special features.
- End with a clear CTA. A short line like “Book a tour” or “Talk to your agent” is enough.
Short videos are easier to share, load faster, and get more people to act.
Add Music and Branding Without Overdoing It
Music and branding should lift the video, not steal the show. Keep both light, intentional, and true to the property’s feel.
Music
Pick music that fits the mood of the home. A calm track works for quiet spaces, something steady and modern for city apartments. On top of that, avoid anything too loud or dramatic.
Also, match your edits to the rhythm if it feels natural, but don’t force it. When in doubt, choose tracks that make the space feel alive and warm without sounding like an ad.
Branding
Your brand should feel like part of the video. Thus, use a short intro or outro if you want, but let the home stay the focus.
Plus, keep text and graphics simple. Also, use the same fonts, colors, and motion style across your videos so people recognize your work without being told. A clean layout, a hint of your brand color, and a consistent tone go further than flashy effects ever will.
Post Everywhere
Once your video looks good, share it. The more places it lives, the more people see it. You’re not just reaching buyers, but also future clients, agents, and referrals.
YouTube
Start with YouTube. About 51% of home buyers use it as their main place to search. Also, use clear titles that include the property address, city, and neighborhood. Most importantly, add keywords people might actually search, like “Modern home tour in Austin”.
Keep your description simple and useful. Don’t forget to add your contact info and a link to your site. Moreover, use timestamps if the video is long so people can skip to what they want.
Instagram and TikTok
You must post clips on Instagram and TikTok. Cut short 15 to 30-second parts that show the best bits of the home. It could be a kitchen reveal, a drone shot, or a nice walkthrough all work well.
Keep the edits smooth and the lighting soft. And skip overused effects or loud trending sounds if they don’t fit.
Facebook and LinkedIn
Right after that, post on Facebook and LinkedIn. These reach local communities and professionals. Upload videos directly instead of linking from YouTube. Remember, native videos play better and get more views. Also, add a short caption that tells what’s special about the property.
Finally, include your video on listings, websites, and emails. A property video keeps buyers on the page longer. Combine it with a few strong photos and a clear call to action like “Book a showing” or “Contact the agent.”
Common Real Estate Videography Mistakes to Avoid
Even the best homes can look dull if the video isn’t right. Whether you’re an agent or a videographer, watch out for these mistakes that often ruin a good shoot.
- Skipping the Plan: A lot of people show up and start shooting right away. Well, don’t. Instead, walk through the property first, plan your shots, know the key rooms, and figure out your angles.
- Bad Lighting: Dark rooms or harsh light can ruin a shot fast. Use natural light when you can. If it’s too dim, add soft LED lights. And try to shoot during golden hour for a warm, natural look.
- Ignoring Stabilization: Shaky footage is hard to watch. That’s why you should always use a gimbal, a tripod, or learn the ninja walk.
- Weak Composition: Crooked lines and disorganized rooms distract from the space. Keep your camera level, use the rule of thirds, and let the architecture guide the shot.
- Overshooting or Undershooting: Shooting hundreds of random clips wastes time in post-production, but shooting too little limits your edit. Capture wide, medium, and detailed shots with purpose.
- Rushed Editing: Don’t just cut clips together and call it done. Balance the colors, keep transitions smooth, and match your pacing to the property’s feel.
- Too Many Effects: Too much motion blur, heavy filters, or loud music can pull attention away from the house. Keep it simple.
- Relying Too Much on Gear: Fancy gear doesn’t make great videos. You can have the best Canon or DJI setup and still get average results. For that reason, learn good camera control, lighting, and timing.
- Ignoring Audio Quality: Bad audio can kill an otherwise solid video. Thus, use a proper mic like a Rode VideoMic Pro+ or a lav mic. Capture a few seconds of quiet room tone, too.
- No Story: Don’t just film random rooms. Walk viewers through the home the way someone would naturally explore it. Show how each space connects.
- Missing Contact Info: Many agents forget to add their logo or contact details at the end. Always finish with a clear way for viewers to reach out.
Final Words
I’ve learned that real estate videography is about paying attention. Plan your shots, watch the light, and move with purpose. If you take one thing from these real estate videography tips, remember that emotion matters more than features.
Plus, keep your edits simple, your pacing steady, and your story real. Video is changing how people look for homes, and if you keep learning now, you’ll stay ahead later.
Read Our Latest Article:
FAQs
1. What camera is best for real estate videography?
The best camera for real estate videography 2025 is a mirrorless model like the Canon R6 Mark II or Sony A7S III. They offer 4K clarity, strong low-light range, and smooth autofocus.
2. How do I make real estate videos look professional?
To make real estate videos look professional, focus on steady stabilization using a gimbal, balance lighting for bright and natural tones. Most importantly, tell a visual story of the home’s flow, and refine everything with editing tools like Premiere Pro or DaVinci Resolve for smooth pacing.
3. What lens should I use for real estate videos?
Use a 15–35mm lens for wide, sweeping room shots and a 50–85mm lens for detail work like fixtures or finishes. This combo gives depth, cinematic feel, and clarity across spaces. It’s perfect for both interior walkthroughs and creative real estate videography.
4. How long should a real estate video be?
The ideal length for real estate video content is 90 seconds to 2 minutes. It’s long enough to highlight every key space without losing viewer attention. Keep pacing tight, transitions clean, and storytelling smooth for maximum engagement and clarity.
5. What’s the best time of day to film a property?
The best lighting for real estate videography comes during golden hour, just after sunrise or before sunset. Soft, warm light flatters interiors and exteriors, avoids harsh shadows, and gives properties a cinematic glow.

Leave A Reply
Comment submitted successfully!