Table of Contents
- How to Calibrate Your DJI Mini 3 Gimbal Without Hassle
- Step 1: Power On Drone
- Step 2: Open DJI Fly App
- Step 3: Go to Control Tab
- Step 4: Choose Auto Calibration (recommended)
- Step 5: Place Drone On a Flat for Confirmation
- When Do You Need to Calibrate the Gimbal?
- Auto vs. Manual Gimbal Calibration
- Auto Calibration
- Manual Calibration
- Troubleshooting DJI Mini 3 Gimbal Calibration Errors
- Related Gimbal Calibrations You Might Need
- Wrapping Up
- FAQs
- 1. Why is my DJI Mini 3 gimbal not calibrating?
- 2. Do I need to calibrate the DJI Mini 3 gimbal after every flight?
- 3. What’s the difference between auto and manual gimbal calibration?
- 4. Can firmware updates cause DJI Mini 3 gimbal errors?
- 5. How long does DJI Mini 3 gimbal calibration take?
- 6. Is gimbal calibration different on DJI Mini 3 vs. Mini 3 Pro?
Ever powered up your Mini 3 only to find the horizon tilting, the camera shaking, or your footage looking off? You’re not alone. Many drone pilots hit this wall and instantly wonder how to calibrate DJI Mini 3 gimbal without losing their cool.
Here’s how to calibrate DJI mini 3 gimbal —
- Power on the drone and controller
- Open the DJI Fly app
- Go to the Control tab
- Select Gimbal Calibration
- Choose Auto Calibration
- Place the drone flat and unfold the arms
- Hit Start and wait for confirmation.
Furthermore, you’ll know exactly when to calibrate, how to do it right the first time, and how to fix errors if things go sideways.
How to Calibrate Your DJI Mini 3 Gimbal Without Hassle
Follow these steps carefully, and within minutes your gimbal will be balanced and ready to capture stunning video.
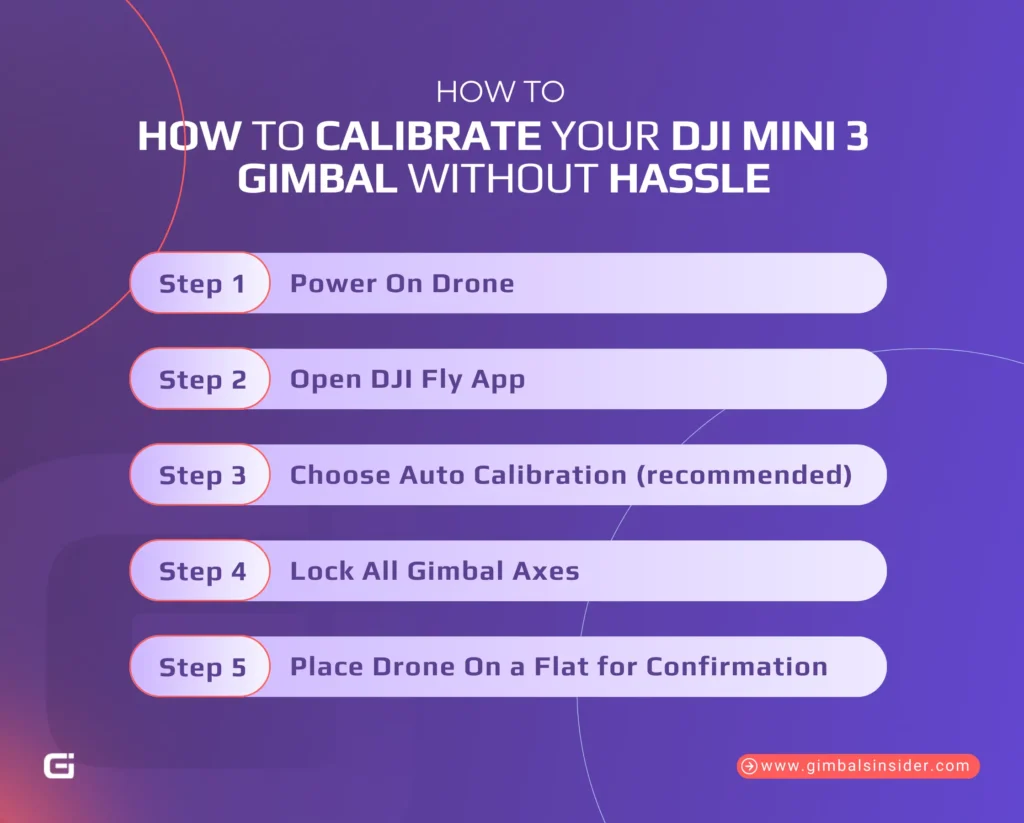
Step 1: Power On Drone
Start by switching on both your Mini 3 and whichever remote controller you use (DJI RC or RC-N1). Also, ensure that the batteries are fully charged, as low power may interrupt calibration.
Step 2: Open DJI Fly App
Once the aircraft and controller are connected, launch the DJI Fly App. From the live camera view, hit the three dots in the top-right corner. This is your gateway to all calibration tools.
Step 3: Go to Control Tab
Inside Settings —
- Select the Control Tab.
- Scroll down until you see the Gimbal Calibration option.
This is where you can begin either automatic or manual calibration.
Step 4: Choose Auto Calibration (recommended)
For nearly everyone, Auto Calibration is the smart move. The gimbal runs through its own adjustment routine, like rotating and tilting in sequence, until it finds perfect balance.
Though manual mode exists, you only need it if you’re chasing micro-adjustments.
Step 5: Place Drone On a Flat for Confirmation
You need to set your Mini 3 on a stable, flat surface with the propeller arms unfolded.
- Hit Start and let the gimbal move through its calibration cycle.
- You’ll see it swing and tilt briefly before locking back to center.
- Wait for the app’s confirmation, and you’re done.
Pro Tip: Always remove the gimbal protector before powering on or calibrating. Leaving it attached can block gimbal movement, trigger errors, and damage delicate motors. If you’re unsure about the process, check out this detailed guide on How to Calibrate Gimbal DJI Mini 3 Pro to make sure you do it safely and correctly.
When Do You Need to Calibrate the Gimbal?
If you’ve flown drones long enough, you know the gimbal can be temperamental. One moment it’s steady, the next your horizon looks like it’s sliding off the screen. Here are some scenarios when calibration matters —
- After Firmware Updates: We all know that updates often improve performance. However, they can also throw the gimbal slightly out of line. If you notice strange movement or errors right after an update, recalibration is the first thing to do.
- When the Horizon Looks Tilted: If you notice a slanted horizon in playback or live view in a landscape, the gimbal likely needs a reset.
- Drifts or Shakes in Flight: Unexpected jitters, a wandering camera, or small vibrations are red flags. A quick calibration usually restores the controlled movement you expect.
- After a Hard Landing or Crash: Even if the drone looks fine, the gimbal mechanism can shift slightly from impact. Recalibrating ensures that your camera is level and responsive again.
- When Flying in Different Climates or Temperatures: Big swings in heat or cold can affect the gimbal’s accuracy. Calibrating in those conditions helps the system adapt and keeps your footage consistent.
Read Also: How to Setup Gimbal DJI RS3
Auto vs. Manual Gimbal Calibration
DJI gives you two choices: Auto Calibration for speed, and Manual Calibration for control. Knowing when to use each is the difference between “good enough” and professional-looking results.
Auto Calibration
Auto is the fast track!
- Drop the Mini 3 on a flat, steady surface with wings open
- Head to the Control tab in the DJI Fly app
- Hit Auto Calibrate
The gimbal runs through its movements—side to side, up and down—and in under a minute, it’s done. Now, use Auto if —
- The horizon looks off right after powering on.
- You’ve had a rough landing and want things reset.
- You’re flying from a spot with different ground levels than before.
Manual Calibration
Sometimes Auto isn’t enough. That’s when Manual takes over. Here’s the manual calibration flow Inside the —
Fly app → Control tab → Gimbal Calibration
You’ll see adjustment sliders.
These let you fix —
- Roll (horizon tilt) to correct lean left or right.
- Pitch (camera alignment) for adjusting if the view feels too high or low.
Manual mode excels in moments when precision matters —
- The horizon still tilts after Auto Calibration.
- You notice a constant roll during flight turns.
- You’re capturing professional footage where tiny errors stand out.
Troubleshooting DJI Mini 3 Gimbal Calibration Errors
If you encounter a DJI mini 3 gimbal calibration failed in the DJI Fly App, here’s how to methodically fix it —
- Remove the microSD Card: Sometimes, a simple detail like a card left in the slot can disrupt calibration. Eject it, restart, and retry.
- Update the DJI Fly App: Outdated DJI mini 3 gimbal calibration software often causes conflicts with new firmware. Keeping the app fresh ensures compatibility and stable calibration.
- Refresh Firmware Through DJI Assistant 2 (PC/Mac): Even if your firmware is current, refreshing it can clear hidden glitches. Connect via DJI Assistant 2 and reinstall the latest package.
- Restart Both the Drone and the Controller: A full reboot resets internal processes and gives the gimbal a clean start. However, always remove the gimbal cover before powering on.
If calibration still fails after these steps, it’s best to reach out directly to DJI Support and arrange for professional inspection.
Related Gimbal Calibrations You Might Need
To keep your Mini 3 safe, and trouble-free, it may sometimes ask for other calibrations. Here’s when each one matters most —
- IMU Calibration: Restores balance, steadiness, and smooth hovering when the drone drifts or struggles in flight.
- Compass Calibration: Keeps Return-to-Home precise and navigation true, especially after long travel or big elevation shifts.
- Controller Calibration: Corrects stick drift and sluggish responses to ensure full control at your fingertips.
Wrapping Up
How to calibrate DJI mini 3 gimbal doesn’t have to feel like a chore. With a flat surface, the DJI Fly app, and a few taps, you can restore balance and keep your footage sharp.
Auto calibration will cover most needs, while manual steps are there when precision matters. Remember to recalibrate after firmware updates, rough landings, or when horizons drift. Plus, small habits, like removing the gimbal cover first, prevent bigger issues later.
As you log more flights, make calibration part of your routine!
Read Our Latest Article:
FAQs
1. Why is my DJI Mini 3 gimbal not calibrating?
A Mini 3 gimbal may fail to calibrate if the protector is left on, the firmware/app are outdated, or interference occurs. Try removing the SD card, refreshing firmware in DJI Assistant 2, or restarting before repair.
2. Do I need to calibrate the DJI Mini 3 gimbal after every flight?
No, you don’t need to calibrate your DJI Mini 3 after each flight as it self-checks at startup. Calibrate only if the horizon looks crooked, the camera drifts, or after a hard landing.
3. What’s the difference between auto and manual gimbal calibration?
Auto gimbal calibration quickly realigns the camera with one tap, while manual calibration lets you fine-tune rotation and horizontal tilt for precise leveling when auto isn’t enough.
4. Can firmware updates cause DJI Mini 3 gimbal errors?
Yes, some pilots report gimbal errors right after updates. If this happens, refresh firmware with DJI Assistant 2 or recalibrate. Downgrades aren’t possible, so you should update carefully.
5. How long does DJI Mini 3 gimbal calibration take?
Auto gimbal calibration on the Mini 3 usually takes less than a minute. On the contrary, manual calibration may take longer, depending on adjustments needed for rotation and horizontal leveling.
6. Is gimbal calibration different on DJI Mini 3 vs. Mini 3 Pro?
No, gimbal calibration works the same on Mini 3 and Mini 3 Pro. Both offer Auto for quick realignment and Manual for fine horizon correction in the DJI Fly app.

Leave A Reply
Comment submitted successfully!