Table of Contents
- How Can You Film Smooth Social Media Videos with a Gimbal
- Basic Setup
- Plan Your Shots Before You Film
- Choosing Horizontal vs. Vertical
- Select Gimbal Modes
- Try Movement Shots
- Use AI Tracking if Filming Solo
- Add a Small Tripod or Scorpion Legs
- What Are the Best Gimbal Moves for Social Media Videos?
- Push-In & Pull-Out
- Parallax / Orbit Shots
- FPV or POV Shots
- Use Slow Motion or Vertical Framing
- What Are Common Gimbal Mistakes Beginners Make and How to Avoid Them
- Relying Too Much on Motion
- How to Avoid
- Forgetting to Plan the Video Flow
- How to Avoid
- Bad Focus, Shaky Movements, Poor Lighting
- How to Avoid
- Ignoring Wider Shots or Context
- How to Avoid
- Skipping Audio Checks
- How to Avoid
- Should You Use a Gimbal for Your Social Media Videos?
- Final Words
- FAQs
- 1. Do I really need a gimbal for social media content?
- 2. How do I track myself with a gimbal while filming alone?
- 3. Which gimbal settings are best for Reels and TikToks?
- 4. How do I edit gimbal footage for social media?
Every day, people spend over 11.5 billion hours scrolling through social media. That means your videos are fighting for attention. If your footage is shaky, the pacing feels off, or you’re unsure what to shoot next, chances are people will scroll right past.
Hence, I’ll show you how to film social media content with a gimbal. That way, you can shoot smoother, sharper, and more engaging videos that actually hold attention.
How Can You Film Smooth Social Media Videos with a Gimbal
If you’re filming content for Instagram, TikTok, or clients, shaky video just won’t cut it. So, here’s how to set things up, what to shoot, and how to get the most out of your gear, even if you’re filming solo.
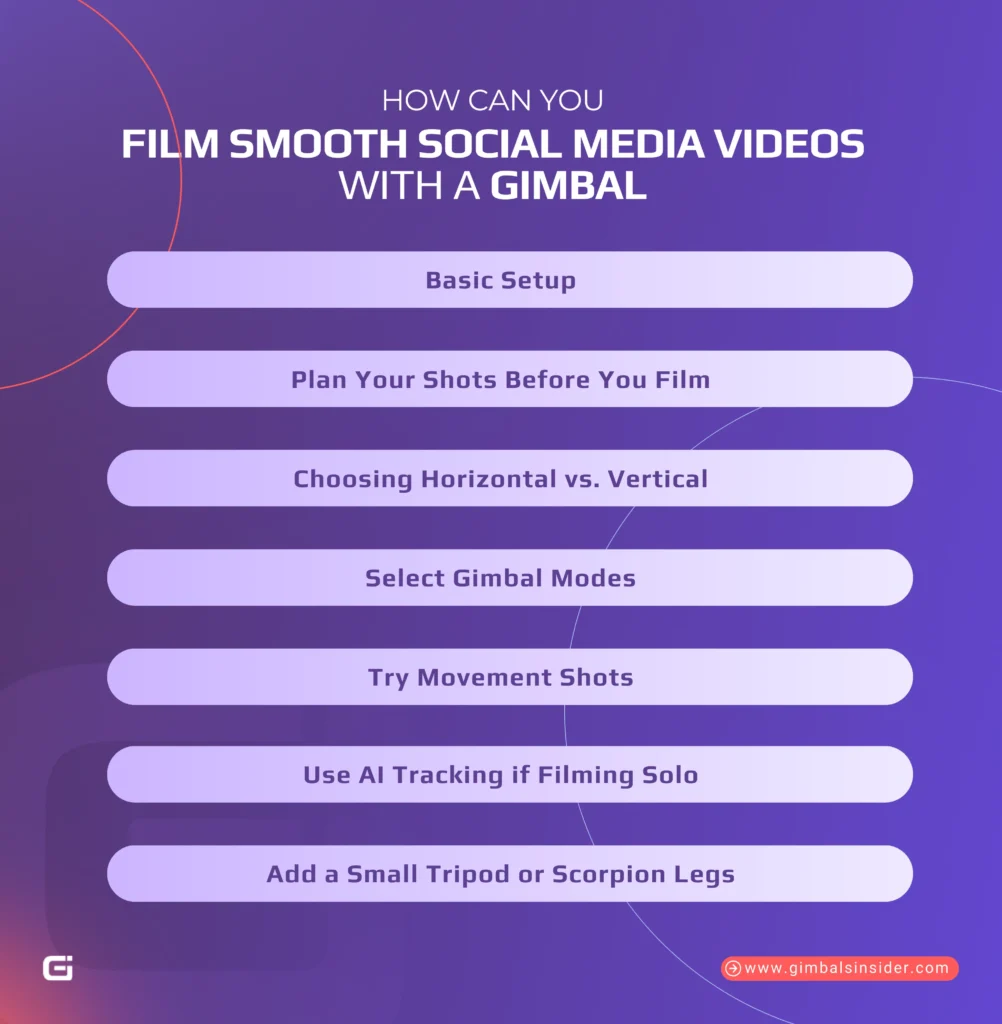
Basic Setup
First things first, you must balance your camera or phone before you start filming. It sounds basic, but it’s key. If your gear isn’t balanced, your gimbal’s motors will overwork, your battery will drain faster, and your footage might still shake.
In that case, mount your device, then adjust each axis until your camera stays put when you let go. Most gimbals today come with quick-release plates, so once it’s balanced, switching to vertical or back is easier.
Now, if you’re using a mirrorless camera, skip anything bulky unless absolutely necessary. Keep cables short, avoid the huge lens or mic, and give the motors less to deal with.
Plan Your Shots Before You Film
Don’t wing it. Instead —
- Sketch a rough storyboard.
- List your shots.
- Pick your outfits.
- Decide the order of scenes before you turn the camera on.
A simple plan saves time and helps you film with a clear goal.
Choosing Horizontal vs. Vertical
Go vertical if you’re creating Reels, Shorts, or TikToks, as it’s built for the scroll. If you’re filming interviews, YouTube videos, or anything with wide detail, shoot horizontally.
The best part is that most gimbals let you switch between the two in seconds now, so choose based on the platform.
Select Gimbal Modes
Though there are many, I’d suggest getting comfortable with these four core modes —
- Pan Follow (PF): The gimbal smoothly follows left/right turns. It’s great for walk-throughs and following movement.
- Lock Mode: Keeps the camera steady in one direction. Ideal when you want a fake tripod look.
- Follow Mode: Follows up/down and side-to-side moves. This mode is great for push-ins and more dynamic shots.
- POV Mode: Frees all axes for rolling or dramatic angles. That said, it takes practice, but adds a creative punch.
Start with Pan Follow as it’s the easiest to control. The others come in helpful once you’ve got the hang of it.
Try Movement Shots
Here are four solid shots you can master in a day —
- Push-In: Walk straight toward your subject to create focus and build interest.
- Pull-Out: Move back to show off the space or scene.
- Orbit: Walk a slow half-circle around your subject, keeping them centered.
- Tracking: Move alongside a person or object. Great for walk-and-talks or showing motion.
Practice these with everyday subjects, like a coffee mug, your pet, or yourself in a mirror. These small moves can make your footage feel high-end.
Read Also: How to Stop Gimbal from Moving Osmo Pocket 3?
Use AI Tracking if Filming Solo
If you shoot alone, it’s your best friend. Some gimbals, like the DJI RS4 or iSteady MT2, come with built-in AI tracking. The best part is that you don’t need an app or cables. Just look at the tracker and flash an “OK” hand sign. Then, it’ll lock on and follow you.
And yes, it’s not flawless. Sometimes tracking drops when you step too far out of frame. But as you walk back in, it usually finds you again. It’s more than enough for most solo creators.
Add a Small Tripod or Scorpion Legs
Finally, if you want to be in the shot, use a gimbal with legs or a small tripod. Set it on a flat surface, frame your shot, and hit record. They’re the best option rather than balancing on books, no worrying if it’ll fall over.
What Are the Best Gimbal Moves for Social Media Videos?
Here are some practical gimbal techniques that have helped me, and will likely help you shoot videos that increase engagement and hold people’s attention.
Push-In & Pull-Out
The push-in is where you slowly move toward your subject, such as a person, a product, or even a doorway. During the pull-out move, you walk backward to reveal more of the scene, almost like zooming out with your feet.
Both of these work best when your subject is centered or the scene has some symmetry. To give the shot more dimension, try walking through a doorway or past foreground elements, like a tree or a lamp post.
Parallax / Orbit Shots
This move makes your subject stay still in the middle of the frame while everything else shifts around them. That’s the parallax effect. It’s also called an orbit or wrap-around shot.
Here’s how you can do it —
- Pick your subject
- Lock them in frame
- Walk in a circle (or half-circle) around them
Though a wide lens helps the background motion feel more intense, you can use a tighter lens for product shots, too. This takes a bit of practice to get used to, but it’s totally worth it.
FPV or POV Shots
Now, if you want your footage to feel more personal, almost like someone’s really there then switch your gimbal to POV mode. It unlocks all the axes and follows your natural hand movements.
However, it’s not meant to be perfect. In fact, a little wobble adds character. Think hallway walkthroughs, fast transitions, or spinning around someone in the middle of a room.
It’s also a solid option when you’re filming solo and want to add motion without setting up complicated gear.
Read Also: What Is FPV Mode in Gimbal?
Use Slow Motion or Vertical Framing
Slow motion does two things right away —
- It smooths out any roughness in your moves.
- It makes everything feel more cinematic.
Combine this with gimbal movement, and even simple B-roll feels pro.
And if your video is headed for TikTok, Reels, or Shorts, flip your camera vertically from the start. Most newer gimbals have a quick-switch plate that makes it painless. And when you add both vertical framing and slow-mo, your content is ready to go straight to the feed with style.
What Are Common Gimbal Mistakes Beginners Make and How to Avoid Them
Let’s walk through the usual mistakes social media creators make with gimbals and, more importantly, how you can avoid them.
Relying Too Much on Motion
A common beginner mistake is moving the camera in every shot. A gimbal makes it easy to keep the camera floating around, but constant motion usually weakens the story.
How to Avoid
Use movement only when it has a clear reason. Ask yourself why the camera should move, not just how. Sometimes, a still, locked-off shot says more.
Mix static shots with your gimbal moves. That way, the motion feels intentional and supports the story instead of being your default choice.
Forgetting to Plan the Video Flow
When you just film random clips with no plan, the edit consumes lots of time. It also reduces the feel, transitions feel weird, and the story does not land. You drop everything into the timeline, and it just does not work.
How to Avoid
Plan your shots before you record. It does not have to be a full storyboard. A simple bullet list of what you need and in what order is enough. Try to think in sequence —
- What is the first shot
- What comes after that
- How does it end
That way, you shoot with a clear plan, and the edit becomes faster and easier.
Bad Focus, Shaky Movements, Poor Lighting
Yes, a gimbal helps with stabilization, but it cannot fix everything. If your camera loses focus, your steps are bouncy, or the light is bad, smooth movement won’t save the shot.
How to Avoid
Walk heel-to-toe and keep your elbows close to your body. If autofocus keeps hunting, switch to manual focus and lock it.
For light, use natural light when you can. If you’re indoors, avoid strong backlight and bright windows that blow out the background.
Ignoring Wider Shots or Context
Close-ups are useful, but if you only use tight shots, people get lost. They won’t know where they are or what they are looking at.
How to Avoid
Start with a wide shot, especially in walkthroughs or location videos. Show the room, space, or area first so people understand the setting. Then move in closer for details.
Even one or two wide angles can ground the viewer and make the rest of the video easier to follow.
Skipping Audio Checks
Bad audio is stealthy. Your video can look great, but if the sound is crackling, echoing, or full of wind noise, people will stop watching.
How to Avoid
Before you hit record, do a quick mic check. Also, use headphones and test for background noise. If you’re shooting in multiple spots, recheck your audio each time.
In fact, a $50 mic with clean sound beats expensive gear with a buzzing track.
Should You Use a Gimbal for Your Social Media Videos?
Yes, you should use a gimbal for your social media videos, if you want your videos to look clean and scroll-stopping. It helps you shoot smoother footage when you’re moving, talking, or trying to follow action.
If your shots are bumpy or distracting, it doesn’t matter how good your content is. That said, you don’t need the latest model or a complicated setup. Even a basic gimbal can level up your production value.
Use it when you’re on the move, then switch back to tripod or handheld when it makes sense.
Read our Latest Article:
Final Words
Learning how to film social media content with gimbal can make a real difference when you want clean, steady shots. If you’re filming alone, AI tracking and a small tripod help you stay in the frame without stress. For beginners, stick to easy moves like push-in or pull-out.
And always plan your shots before filming to save time later. And if you’re more experienced, try to mix static and moving shots to make content interesting. Just remember, a gimbal helps, but it won’t fix shaky steps or bad lighting. So, use it when it makes sense, keep things simple
FAQs
1. Do I really need a gimbal for social media content?
You don’t always need a gimbal for social media, but it helps a lot. For clothing, product, vlog, real estate, or smooth walk shots, a gimbal adds polish and stability.
2. How do I track myself with a gimbal while filming alone?
To track yourself with a gimbal while filming alone, use one with built-in AI tracking or a sensor like on the FeiyuTech Scorp 2, Insta360 Flow 2 Plus, or Hohem iSteady MT2. Just face the camera, make an “OK” gesture to activate, and it’ll follow you automatically without cables or apps.
3. Which gimbal settings are best for Reels and TikToks?
For Reels and TikToks, set your gimbal to vertical mode, use slow follow speed, and keep movement smooth. Try basic moves like push-ins, parallax circles, and POV shots. Also, mix motion with static angles for balance, and shoot in 60fps for easy slow motion.
4. How do I edit gimbal footage for social media?
You can edit gimbal footage by trimming long clips, balancing colors, and keeping transitions subtle. Start with wide shots, then add motion and close-ups for rhythm. Also, use gentle speed ramps, not constant pans, and focus on flow to match your story or brand vibe.

Leave A Reply
Comment submitted successfully!