Table of Contents
- Top Insights
- How to Set Up Your Gimbal for a DSLR Camera
- 1. Prepare the Gimbal and Camera
- 2. Mount the Camera on the Gimbal
- 3. Balancing (Manual Balance before Power On)
- 4. Locking and Calibrating
- 5. Testing for Smooth Operation
- Things to Remember During Gimbal Setup for DSLR Cameras
- Troubleshooting Common DSLR Camera Setup Problems
- Gimbal Shakes Even After Balancing
- Drifting or Tilting on Its Own
- Motors Overheating or Humming
- Heavy Lens Causing Instability
- Difficulty Locking Axis
- Final Words
- FAQs
- 1. How long should it take to set up a gimbal?
- 2. Why does my gimbal keep shaking?
- 3. Do I need to calibrate my gimbal every time?
- 4. Is it possible to use a DSLR with a smartphone gimbal?
To set up a gimbal for your DSLR camera —
- Charge batteries
- Attach the lens and accessories
- Mount the camera on the plate
- Balance tilt, roll, and pan axes
- Lock them
- Calibrate on a level surface
- Then test for smooth motion without shakes or drift.
Don’t worry, I’ll explain the process to prepare, balance, calibrate, and test your gimbal thoroughly. We’ll also tackle common setup problems, so by the end, your gimbal will feel like an extension of your hands.
Top Insights
- Always mount your camera with all accessories attached, then balance tilt, roll, and pan axes manually.
- Place the gimbal upright on a flat surface, power it on, and run auto-calibration to help locate the gimbal’s sensor “center” and prevent drifting, or motor strain.
- Rebalance to remove shakes, recalibrate to prevent drift, lighten the load to avoid overheating, and use counterweights when using a heavy lens.
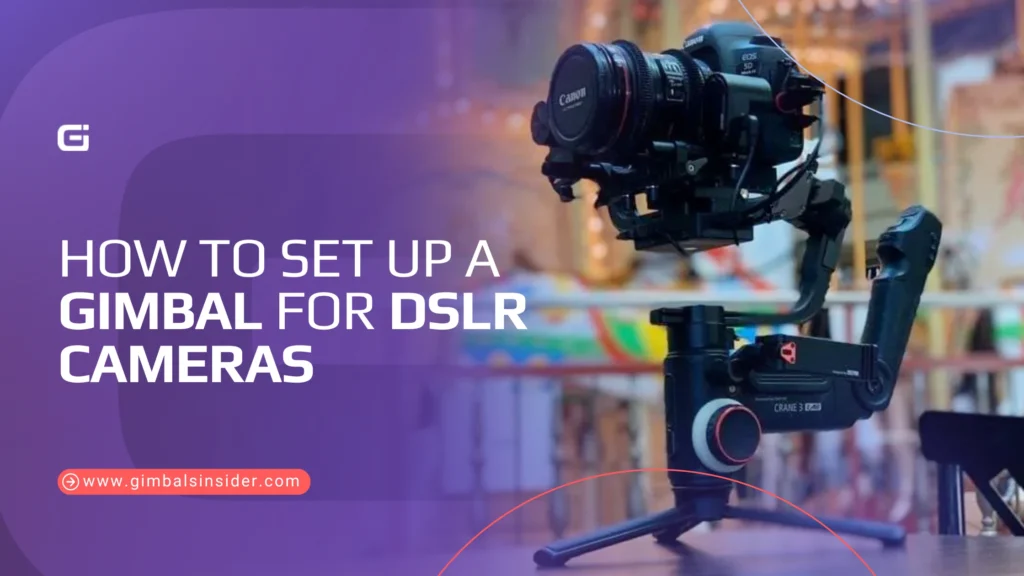
How to Set Up Your Gimbal for a DSLR Camera
Set up your gimbal for a DSLR by charging batteries, mounting and centering the camera, balancing tilt, roll, and pan axes, locking parts. Then, run calibration on a level surface, and test movement for steadiness.
You don’t need to know rocket science to set up a gimbal for your DSLR. However, you’ll need patience and precision. Follow these steps to get stable shots without endless rebalancing.
1. Prepare the Gimbal and Camera
The initial steps are the most crucial —
- Charge or insert the gimbal’s battery.
- Check if the camera’s battery and memory card are in place.
- Attach the lens you plan to use (changing the lens later will disrupt the balance).
- If you’re using a microphone or ND filter, attach it beforehand as well.
Remember that any changes to the camera’s weight will affect the gimbal’s balance.
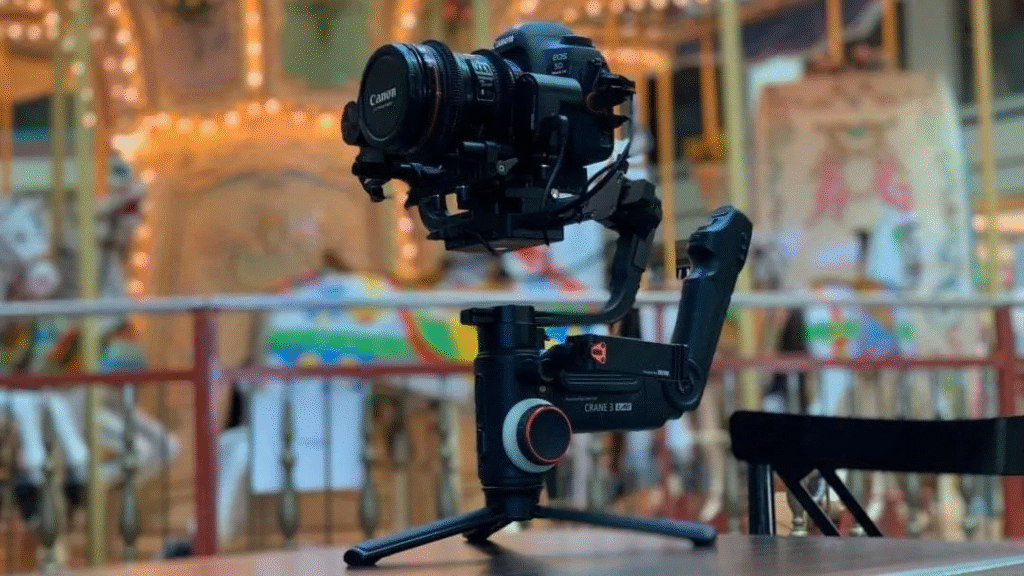
2. Mount the Camera on the Gimbal
Attach the gimbal’s mounting plate to your camera’s base using the provided screw. Tighten firmly, but avoid over-torquing. Plus, ensure no wiggle between the plate and the camera.
The camera should sit so the lens is roughly centered over the gimbal’s tilt motor. If your lens is front-heavy, shift the plate slightly backward to counterbalance. And while setup usually involves the companion software, many creators often wonder if they can use gimbal without app?—the truth is, once balanced properly, most gimbals can still operate smoothly even in manual mode.
3. Balancing (Manual Balance before Power On)
You must manually balance the camera before turning on the gimbal. It prevents the gimbal’s motors from being strained and helps the battery last longer.
- Tilt Axis (Up-down balance): If the camera tilts forward, slide it slightly backward. Again, if it tilts backward, slide it slightly forward.
- Roll Axis (Left-right balance): If the camera leans to one side, slide the mounting part slightly to the right or left on the gimbal’s body.
- Pan Axis (Rotation balance): If the camera rotates on its own when you hold and move the gimbal, slide the handle part slightly forward or backward.
If everything is correct, your camera won’t rotate on its own in any direction.
4. Locking and Calibrating
Calibration teaches the gimbal’s brain where “balanced” truly is. If you skip calibration, it can make perfect balance feel wrong.
- Now, place the gimbal upright on a level table,
- Then, power it on, and run the auto-calibration from the onboard menu or app.
- Don’t touch it until the calibration finishes.
Don’t forget this step as it reduces motor strain, increases battery life, and ensures accurate stabilization.
5. Testing for Smooth Operation
Even after perfect balance and calibration, a quick test saves you from shaky surprises mid-shoot. Here’s how to do it —
- Pan, tilt, and roll slowly to see if the camera stays steady without micro-vibrations. For new users, especially if you’re working with advanced gear, following a proper Setup Gimbal DJI RS3 guide can help you understand these checks better.
Focus on whether you hear an audible motor hum, slow drifting, jerky starts/stops, or sudden re-cantering. If you notice these, repeat the balance process.
Things to Remember During Gimbal Setup for DSLR Cameras
When you’re installing a gimbal, keep the following things in mind —
- Check that the balance is correct before turning on the gimbal.
- If you change the lens, you must rebalance the gimbal.
- Balance the gimbal after attaching all camera accessories (microphone, ND filter, battery grip).
- A change in balance can occur when you switch a low camera battery.
- Use a camera that matches the gimbal’s motor strength (not all gimbals can support all DSLR cameras).
- Be extra careful when working in hot or humid weather, as there are electronic motors involved.
Troubleshooting Common DSLR Camera Setup Problems
Here’s how to solve the most stubborn issues when setting up your DSLR on a gimbal before they ruin your shot.
Gimbal Shakes Even After Balancing
Re-check your balance and lower motor strength.
Even a near-perfect balance can fail if your motor power is too high. Switch the gimbal off, fine-tune all axes, then reduce motor strength in the settings. Sometimes, overpowered motors often create micro-vibrations that look like shakes.
Drifting or Tilting on Its Own
Calibrate on a flat, stable surface.
When your gimbal slowly leans or pans without input, the sensors are confused. In that case, place it on a perfectly level surface and run a full calibration. Remove heavy accessories that shift the center of gravity.
Motors Overheating or Humming
Lighten the load and improve balance.
Overheating motors are a warning sign that they’re working too hard. At that point, remove unnecessary gear, adjust axis positions until the camera stays still with the gimbal off, then restart.
A faint hum is normal, but a constant buzz means strain.
Heavy Lens Causing Instability
Use counterweights or extended mounting plates.
Long or heavy lenses throw off tilt balance. So, add a small counterweight at the rear or use an extended plate so the lens’s weight is evenly supported. It reduces torque and spares your motors.
Difficulty Locking Axis
Check for misalignment or debris in the lock.
If an axis refuses to lock, it’s often because the arm is slightly out of position or grit is blocking the latch. Therefore, align the arm exactly to its lock point and clear any dust before trying again.
Final Words
When it comes to how to set up a gimbal for DSLR cameras, you need accuracy and a clear sequence of steps. Begin with the full shooting setup, like lens, battery, memory card, and accessories, already mounted.
Balance each axis manually before powering on and calibrate on a level surface to reduce motor strain and extend battery life. After setup, test for vibration, drift, or motor noise, and correct immediately. Remember, any change in lens or accessories requires rebalancing.
A properly configured gimbal allows for stable, professional shots with minimal effort during operation.
Read Our Latest Article:
FAQs
1. How long should it take to set up a gimbal?
A first-time gimbal setup can take 15 to 20 minutes. But with practice, you can balance most cameras in under 5 minutes by adjusting tilt, roll, and pan axes, locking them in sequence, and fine-tuning before calibration.
2. Why does my gimbal keep shaking?
Your gimbal keeps shaking means your gimbal is unbalanced, or the motor strength is wrong. Rebalance all axes with the power off, check weight distribution, lower responsiveness if needed, and recalibrate on a stable surface.
3. Do I need to calibrate my gimbal every time?
Yes, you need quick calibration after powering on to ensure accurate stabilization. Plus, hold the gimbal steady to let it test each motor, correct drift, and prevent strain, especially when changing lenses or setups.
4. Is it possible to use a DSLR with a smartphone gimbal?
No, most phone gimbals can’t handle DSLR weight or balance needs. Heavy cameras overwork small motors, so use a DSLR-rated gimbal with higher payload capacity for safe shots.

Leave A Reply
Comment submitted successfully!